Home > What are Automatic Checking Fixtures?
Checking Fixture
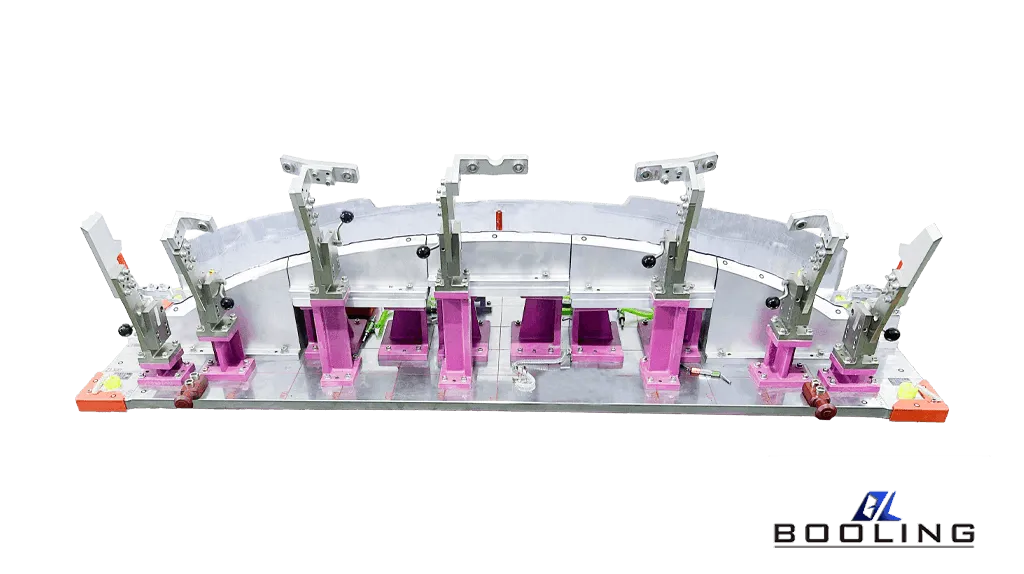
The detection of checking fixtures has high requirements for the relative position of the product structure. The inspection tool has the advantage of detecting and correcting possible errors during the manufacturing process, aiming to help ensure that the product complies with design specifications and tolerances.
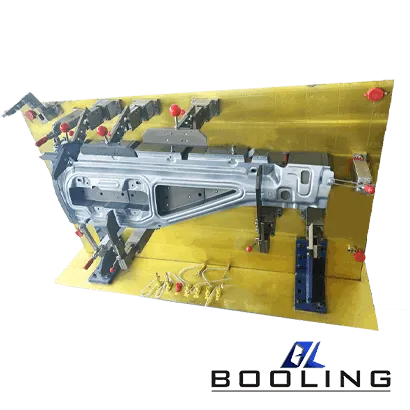
Automatic checking fixtures are inspection tools specially made according to the specific requirements of users, which are mainly used in the automobile manufacturing industry. The shape of the checking fixture must be milled according to the CAD data of the part, which can well reflect all the parameters of the part and perform qualitative inspection on the part.
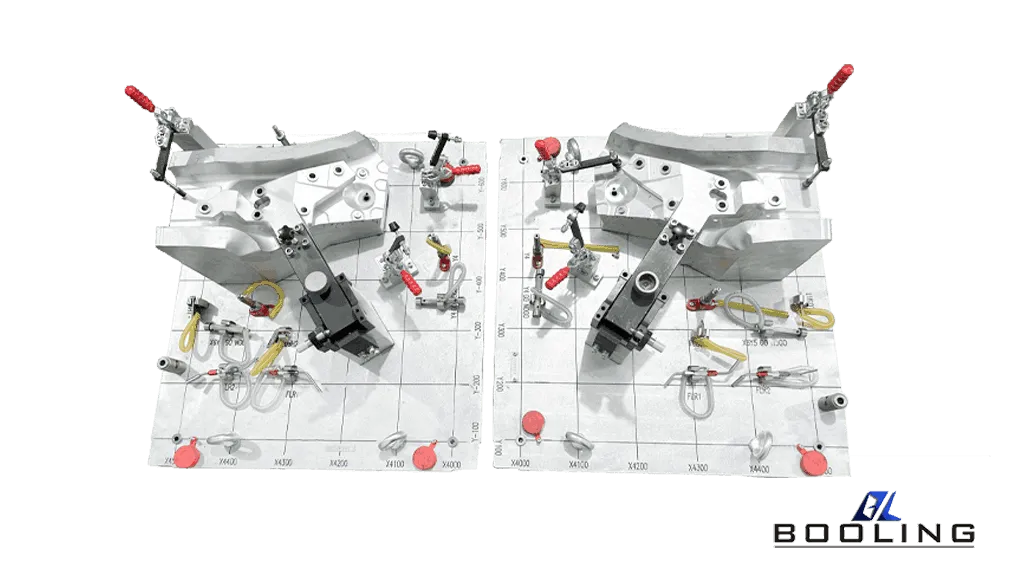
Advantages of Automatic Checking Fixtures
Inspection fixtures are widely used for their simple structure, convenient use, and relatively low manufacturing cost compared to other measurement technology tools. Especially for the relatively large tolerance of parts in automobile products and the large number of random errors in the production process, the fixture testing has its unique advantages.
- Checking fixtures can detect parameters:
- Length dimension
- Angle
- Surface geometry and relative position error: assembly accuracy/parameters of mechanisms and machines
- Other parameters, such as torque, pressure, tension, moment of inertia, etc.
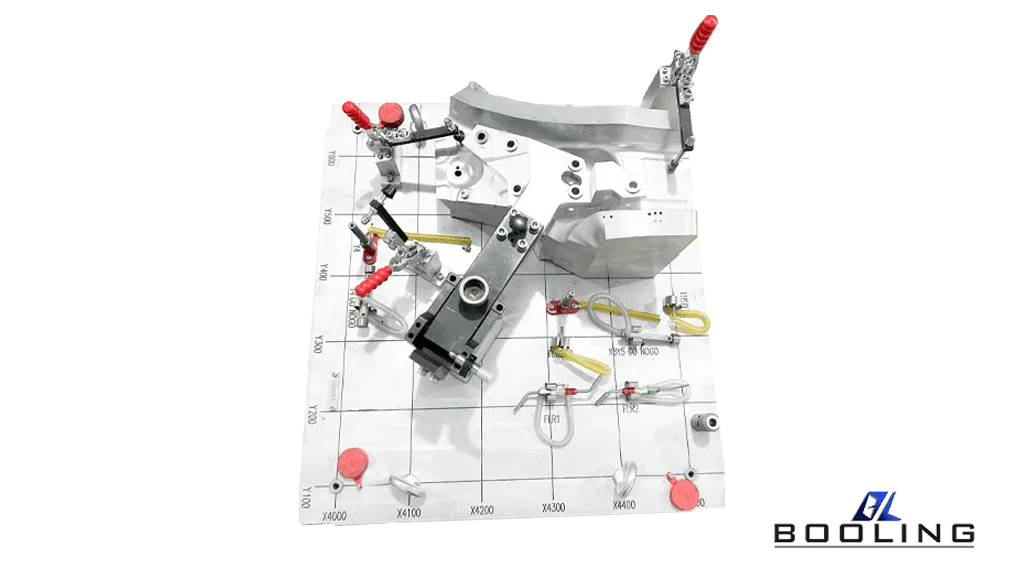
Some of the Key Components of Automatic Checking Fixtures
- Fixture Frame or Body: This forms the main structure of the checking fixture on which the workpiece is mounted and other components are attached. It can be stationary (placed on a table or floor) or an apply-type that mounts directly onto larger workpieces.
- Locating Elements: These include locating pins, clamps, jaws, nests, etc. that accurately position and secure the workpiece in the desired orientation on the fixture frame.
- Checking Elements: Checking surfaces/masters: Reference surfaces against which dimensions of the workpiece are checked using gauges like feeler gauges.Coordinate measuring probes: Used in coordinate measuring machine (CMM) fixtures to take point measurements on the workpiece surface.
- Gauging Devices:Linear gauges, bore gauges, height gauges, etc. to check specific dimensions.Feeler gauges to check gaps/flushness between workpieces and checking surfaces
- Datum Elements: Components like datum pins/plates that establish the datum references on the fixture corresponding to the part drawing.
- Clamping/Locking Devices: To securely hold the workpiece in position during inspection.
- Checking Aids: Accessories like mirrors, borescopes, etc. to inspect hard-to-reach areas.
- Automation Components: Sensors, encoders, data acquisition systems, etc. for automated/semi-automated checking.
The specific components used depend on the type of checking fixture (stationary, apply-type, CMM, PIMM, etc.) and the inspection requirements of the workpiece geometry. The fixtures integrate multiple checking elements to fully validate the part dimensions and geometry against specifications.
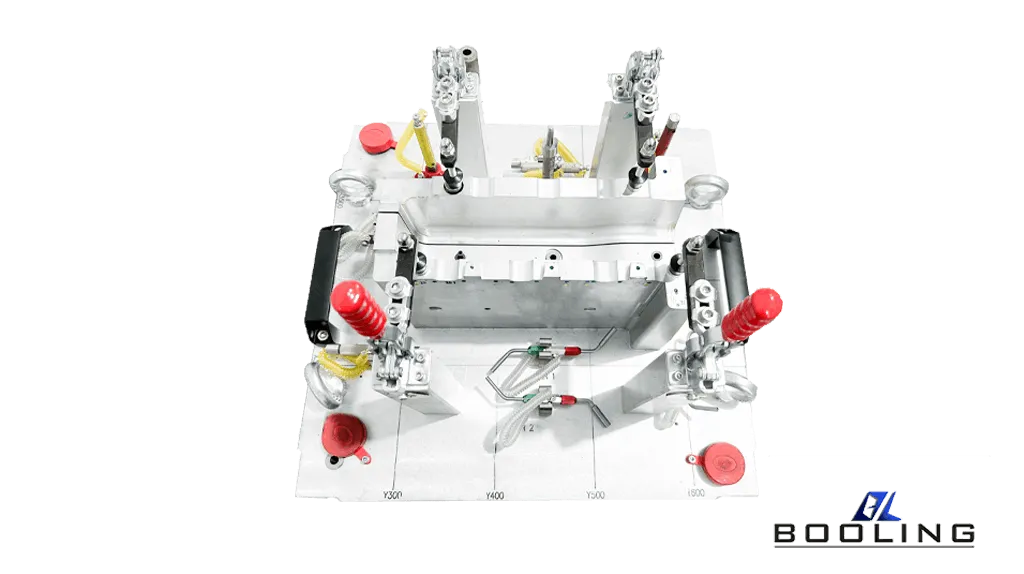
Some Regular Common Automatic Checking Fixtures
Some Regular Common Automatic Checking Fixtures
1.The steel ruler is the simplest length Automatic tool, and its lengths are available in four specifications: 150, 300, 500, and 1000 mm. Steel rulers are mainly used to measure the length of objects. Since the distance between the steel ruler’s engraved lines is 1mm, and the width of the engraved lines themselves is 0.1 to 0.2mm, the reading error during measurement is relatively large and can only be read in millimeters, which results in generally inaccurate measurement results. Some of its common uses are Automatic length, Automatic pitch, Automatic width, Automatic inner hole, Automatic depth, and marking lines.
2.The thermometer is the most common Automatic checking fixture for Automatic the temperature of a substance. The most commonly used are air temperature thermometers and resistance thermometers.
- Air Temperature Thermometer:It is mostly used for hydrogen or helium as a substance for temperature measurement. Physically, the liquefaction temperature of hydrogen and helium is very low, close to absolute zero, so their measurement range is relatively wide. This also makes them highly accurate and mainly used for precision measurements.
- Resistance Thermometer:Resistance thermometers are divided into metal resistance thermometers and semiconductor resistance thermometers. They are both made based on the characteristic that the resistance value changes with temperature. Metal thermometers are commonly made of pure metals such as platinum, gold, and copper; semiconductor thermometers mainly use carbon. The resistance thermometer is very convenient to use and has accurate measurements. Its measurement range is from about -260 degrees Celsius to 600 degrees Celsius.
3.A stopwatch is a tool for Automatic time, which is mainly divided into two categories: mechanical and electronic.
- Electronic Watches:Most people now use electronic watches for timekeeping. Electronic watches can be divided into two categories: three-button and four-button. An electronic stopwatch is a relatively advanced electronic timer. The principle of domestic electronic watches essentially uses the oscillation frequency of a quartz oscillator as the time base and then uses a liquid crystal digital display to display the time. The main advantage is that it is easy to read and the display is more intuitive.
- Electromagnetic Dotting Timer :The electromagnetic timing timer uses a magnetoelectric structure. When the coil is supplied with an alternating current of 50 Hz, the alternating magnetic field generated by the coil magnetizes the vibrating piece (made of spring steel), and one end of the vibrating piece is located in the magnetic field of the permanent magnet. Since the magnetic pole of the vibrator changes continuously with the change of the direction of the current, under the action of the magnetic field of the permanent magnet, the vibrator will vibrate up and down, and its vibration period is consistent with the current change period in the coil, which is 0.02 seconds. One end of the vibrating piece is equipped with a dotting needle, and when the paper tape passes under the needle tip. A series of points are marked, and the corresponding time between adjacent points is 0.02 seconds. The time corresponding to 5 intervals is 0.1 seconds.
4.Spring balances are divided into two types: compression and tension.
- Pressure Spring Scale:The pressure on the plate of a pressure spring scale is equal to the gravity of the object, and the angle at which the pointer of the scale rotates indicates the value of the pressure.
- Tension Spring Scale:The lower end of the tension spring scale is connected to a hook, and the upper end of the spring is fixed on the top of the spring scale shell. When the object to be measured is hung on the hook, the spring stretches, and the pointer fixed on the spring drops. Since it is within the elastic limit of the spring, the external force exerted can be known according to the elongation length of the spring, and then displayed by the scale value indicated by the pointer.
Automatic checking fixtures are now excellent tools that help human beings in production and life. From human creation to human use, they have facilitated life and accelerated production progress.
Automatic checking fixtures are precision measurement and detection tools, which are mainly used to measure the shape, size, accuracy, and surface roughness of objects, ensuring that product quality meets design requirements.
Related News
Applied’s expertise in modifying materials at atomic levels and on an ihdustrial scaleenables our customers to transform possibilities into reality.

